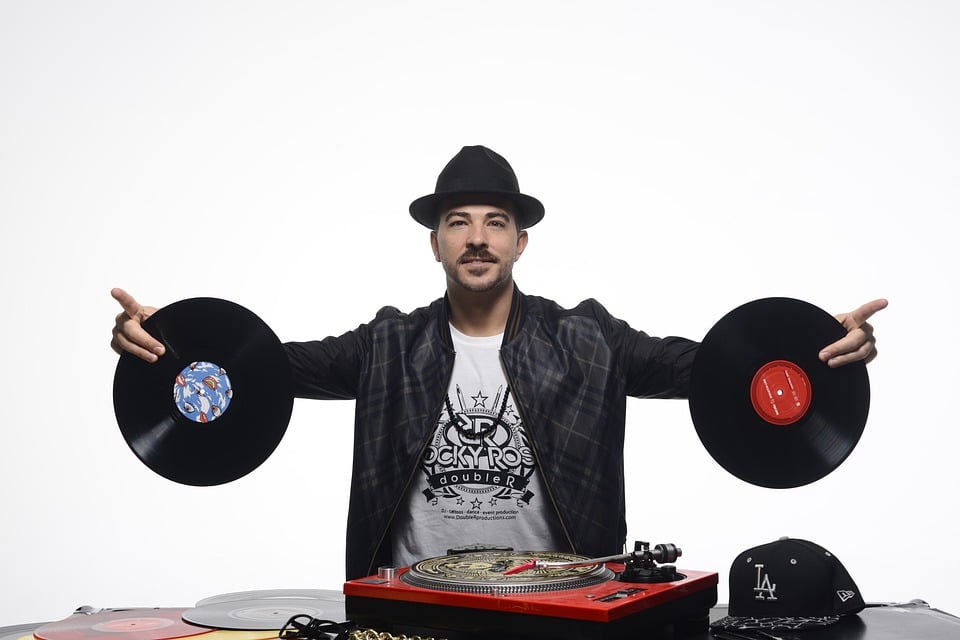
How to Scratch on a DJ Controller in 5 Steps

Impact-Site-Verification: 19e0fdc5-da77-4f8b-a478-94bd91e62e42
Scratching is how DJs can mix tracks to make new music. Some DJ controllers have a crossfader, which controls how much of one track plays at any given time. Scratch on the record to match up with the sound you want for your mix, then use the crossfader to bring in more or less of that track as needed. This blog post will give 5 steps on how to scratch on a DJ controller using DJ software!
1. Practice the Technique
Beginners should practice scratching in one place before trying to move around the controller. Some DJs use both hands to scratch, though it is more common for DJs to use only one hand when starting.
One common scratching technique to consider when learning how to scratch on a DJ controller is alternating between two scratches in “up” and “down” motions. To make an upscratch, push down on the crossfader with your finger, then pull back up with a sharp motion to create a fast clap-like sound. For a downscratch, push up on the crossfader, then pull back down sharply after making contact with the record for a clap-like sound.
Make sure you can do these movements sharply and quickly before trying to scratch in a specific rhythm. Practice how long you need between each upscratch or downscratch, how far away from the center position of the crossfader your hand should be for best results, and how fast to move back and forth after making contact with the record.
2. Add tracks to DJ software
There are various scratch-friendly tracks that you can add to your software. Acapellas, for example, tend to work really well.
Once you have added a track, start by turning off the tempo control to not interfere with how fast or slow the song is meant to be played. You will then need to adjust how loud/soft that particular sound in the mix should play through its respective channel fader before being routed to the master mix.
3. Try to match your scratching with how it should sound
Use the crossfader to test how well blended the two tracks are. If they don’t sound blended enough, adjust how much of each track should play through its respective channel fader until you find a good balance. Once you find a good balance, try to match up your scratches with how they should sound! Then, experiment with new techniques!
4. Move the crossfader to the desired position
Perhaps the hardest part of scratching on a DJ controller is the process of using the crossfader. Start by moving the crossfader to its center position, then try slowly sliding it in either direction.
While practicing how fast or slow you can pull back from a downscratch and clap sound without cutting off the beginning of the track when trying to bring another one in with an up scratch, pay attention to how long it takes for that upscratch to sound.
The key is how long it takes for that upscratch or downscratch to sound after the crossfader moves into position, which should be no more than a split second! If you can’t get it right away, take your hand off the controller and try again until you know how much time you have to move the crossfader into position.
After a couple of times of doing this, you will get how much time it takes from moving your hand back and forth after making contact with the record in an upscratch or downscratch motion!
5. Create a new mix!
Once you are satisfied with how everything sounds, create a new mix! Scratch around in one place for awhile before moving into different areas that you can mix in, like how it sounds with the crossfader all the way to either side.
Don’t forget that you can also use effects on your DJ controller! This is just about any DJ who will practice mixing new songs into mixes at home before performing live shows!
Want to Learn More?
In our book “The DJ Bible,” we cover in-depth how to do different scratching techniques. Click the link above to learn how to learn to scratch on a DJ controller by using professional techniques.

